Notion Data Sync
This comprehensive document will walk you through the step-by-step configuration process for Notion data sync and address specific use cases tailored to Notion.
Standard Data Sync functionality
Please refer to Data Sync - Getting Started for the standard data sync functionality. The getting started document covers usages of data sync features valid for all integrations.
Configuring Notion Data Sync
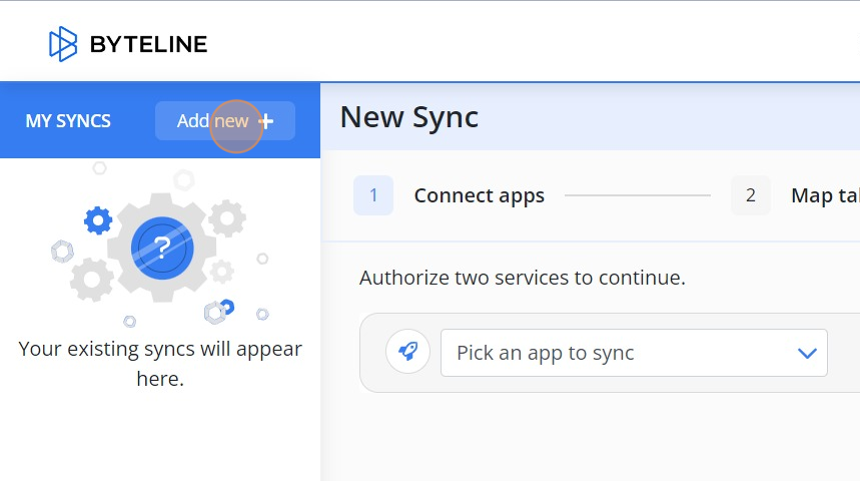
1. Click on the 'Add New' button
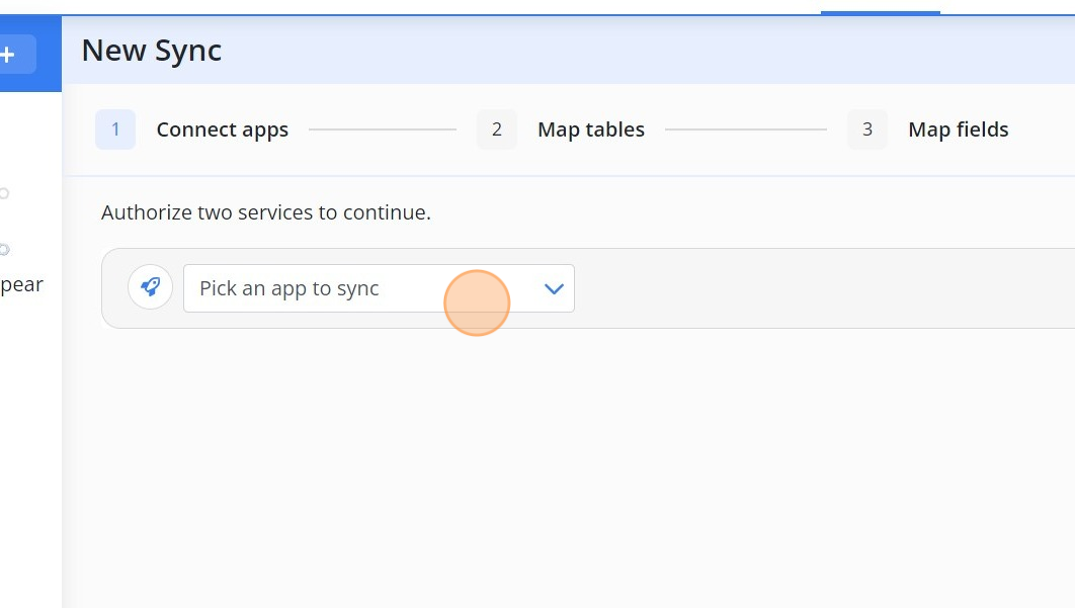
2. Pick the 'Notion' from dropdown.
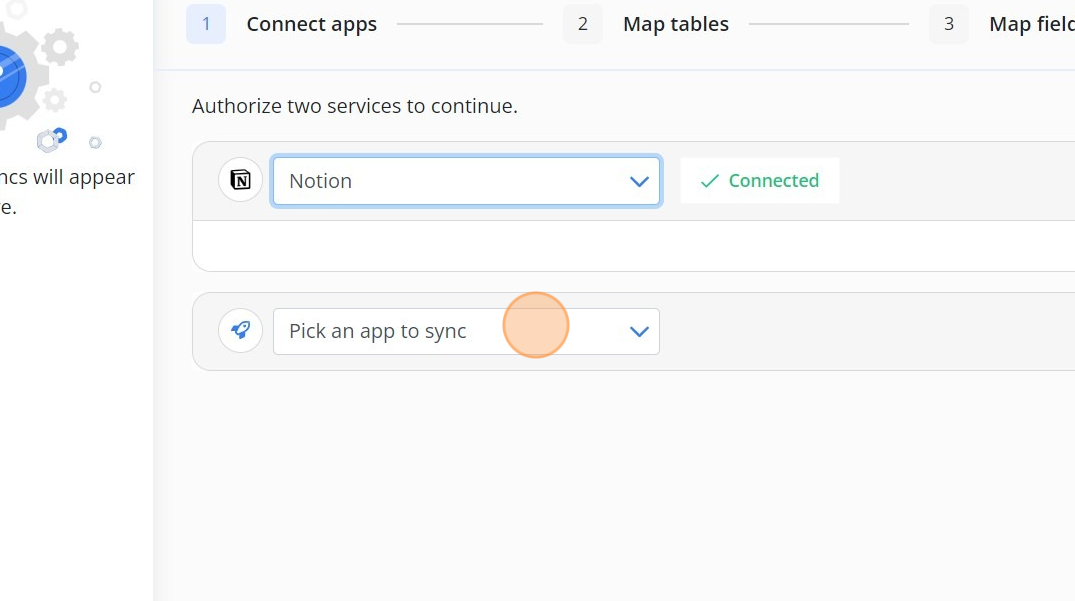
3. Pick the app that you want to sync with Notion.
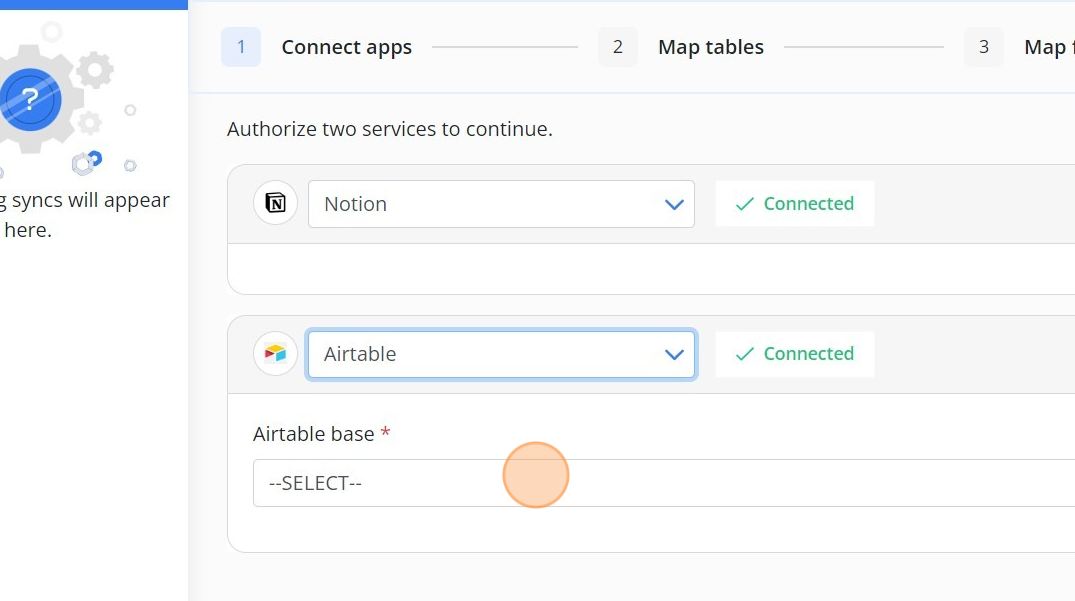
4. Select the 'Airtable base' from dropdown.
5. Click on 'Next' button
6. Delete any tables that you don't want to sync. If the table you want to sync is not displayed, add it using "Add table" button.
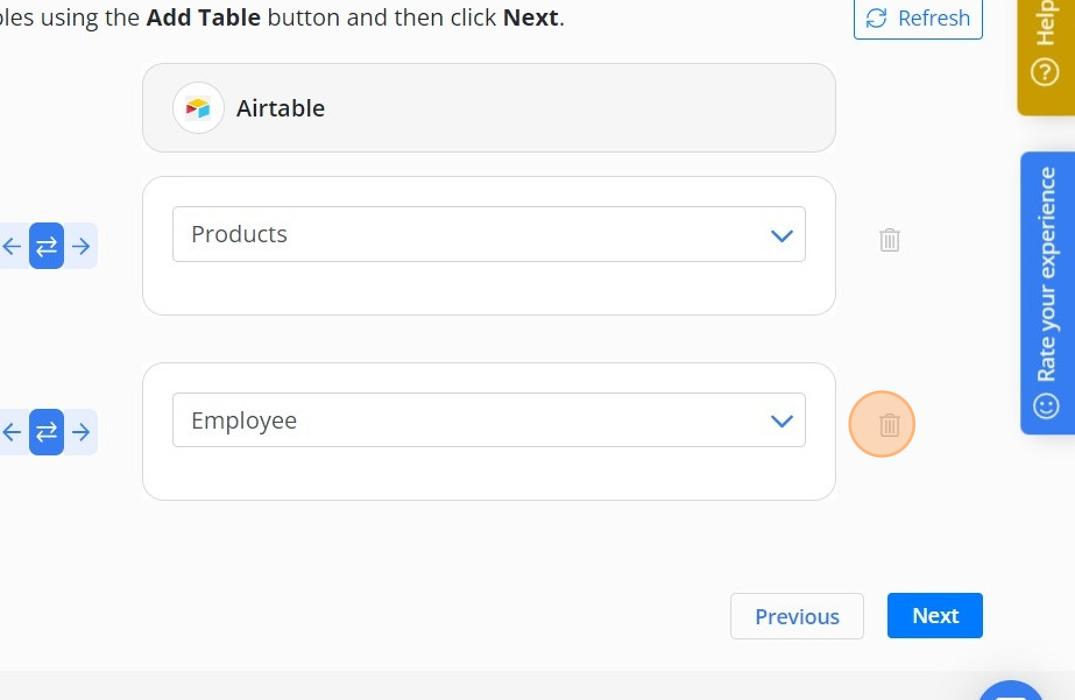
7. Click on 'Next' button.
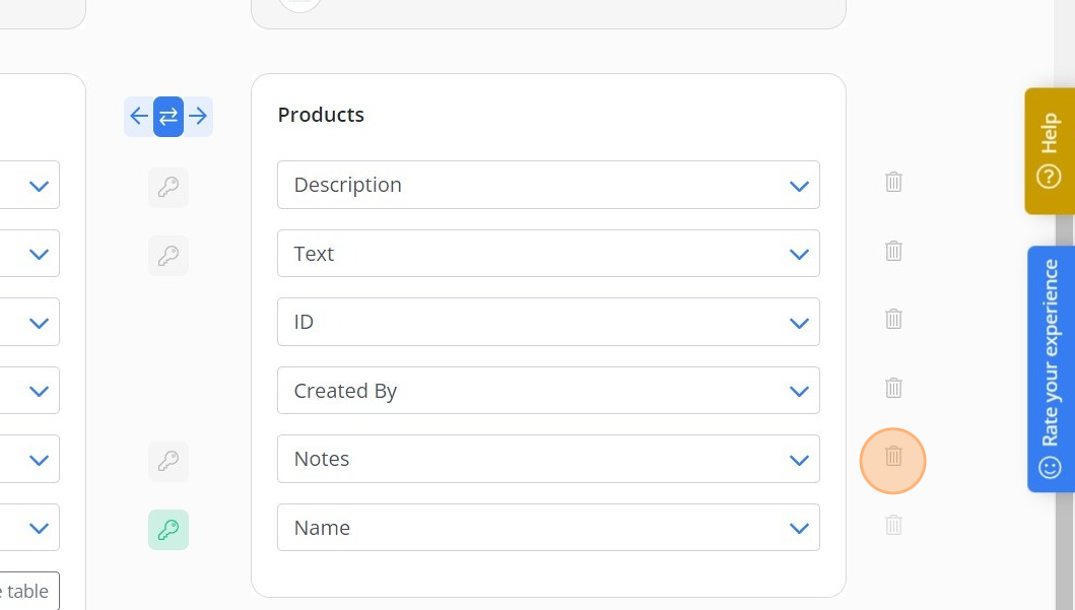
8. Delete any fields that you don't want to sync. If the field you want to sync is not displayed, add it using "Add field" button.
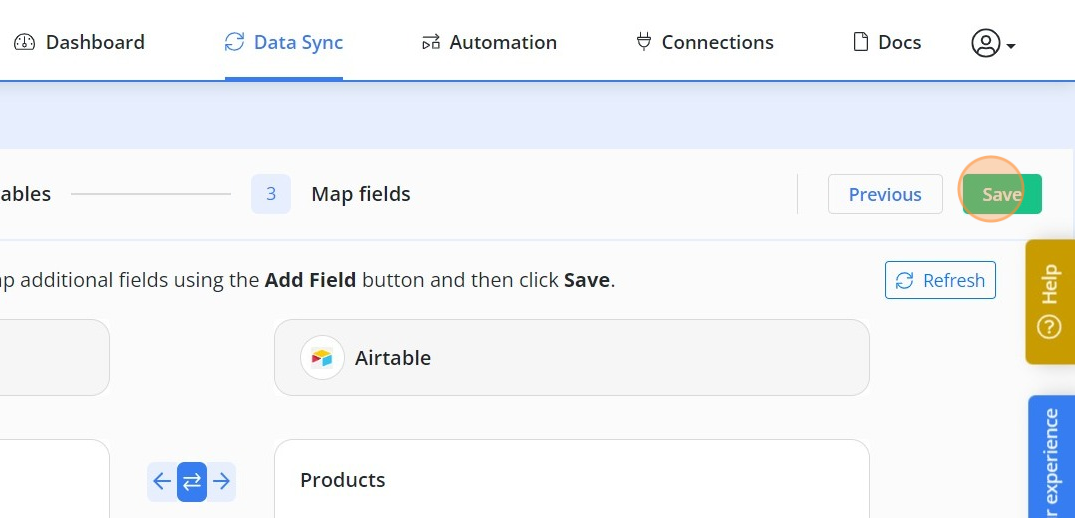
9. Click on 'Save' button
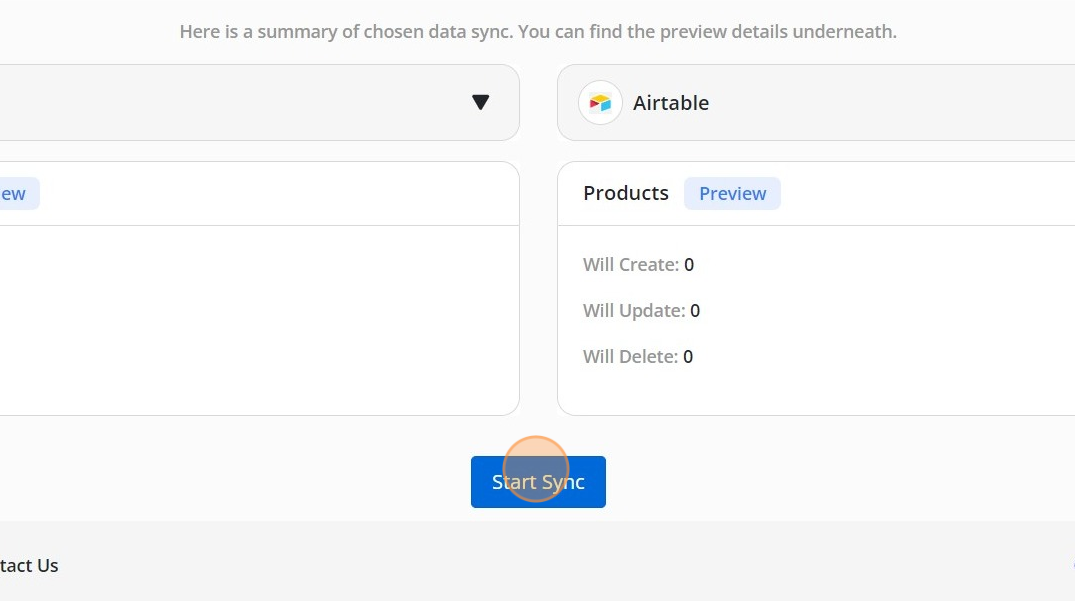
10. Carefully review the number of creates, updates, and deletes. Then click "Start Sync". If the numbers are not correct, it means your unique key selection needs to be changed.
Notion Page Content
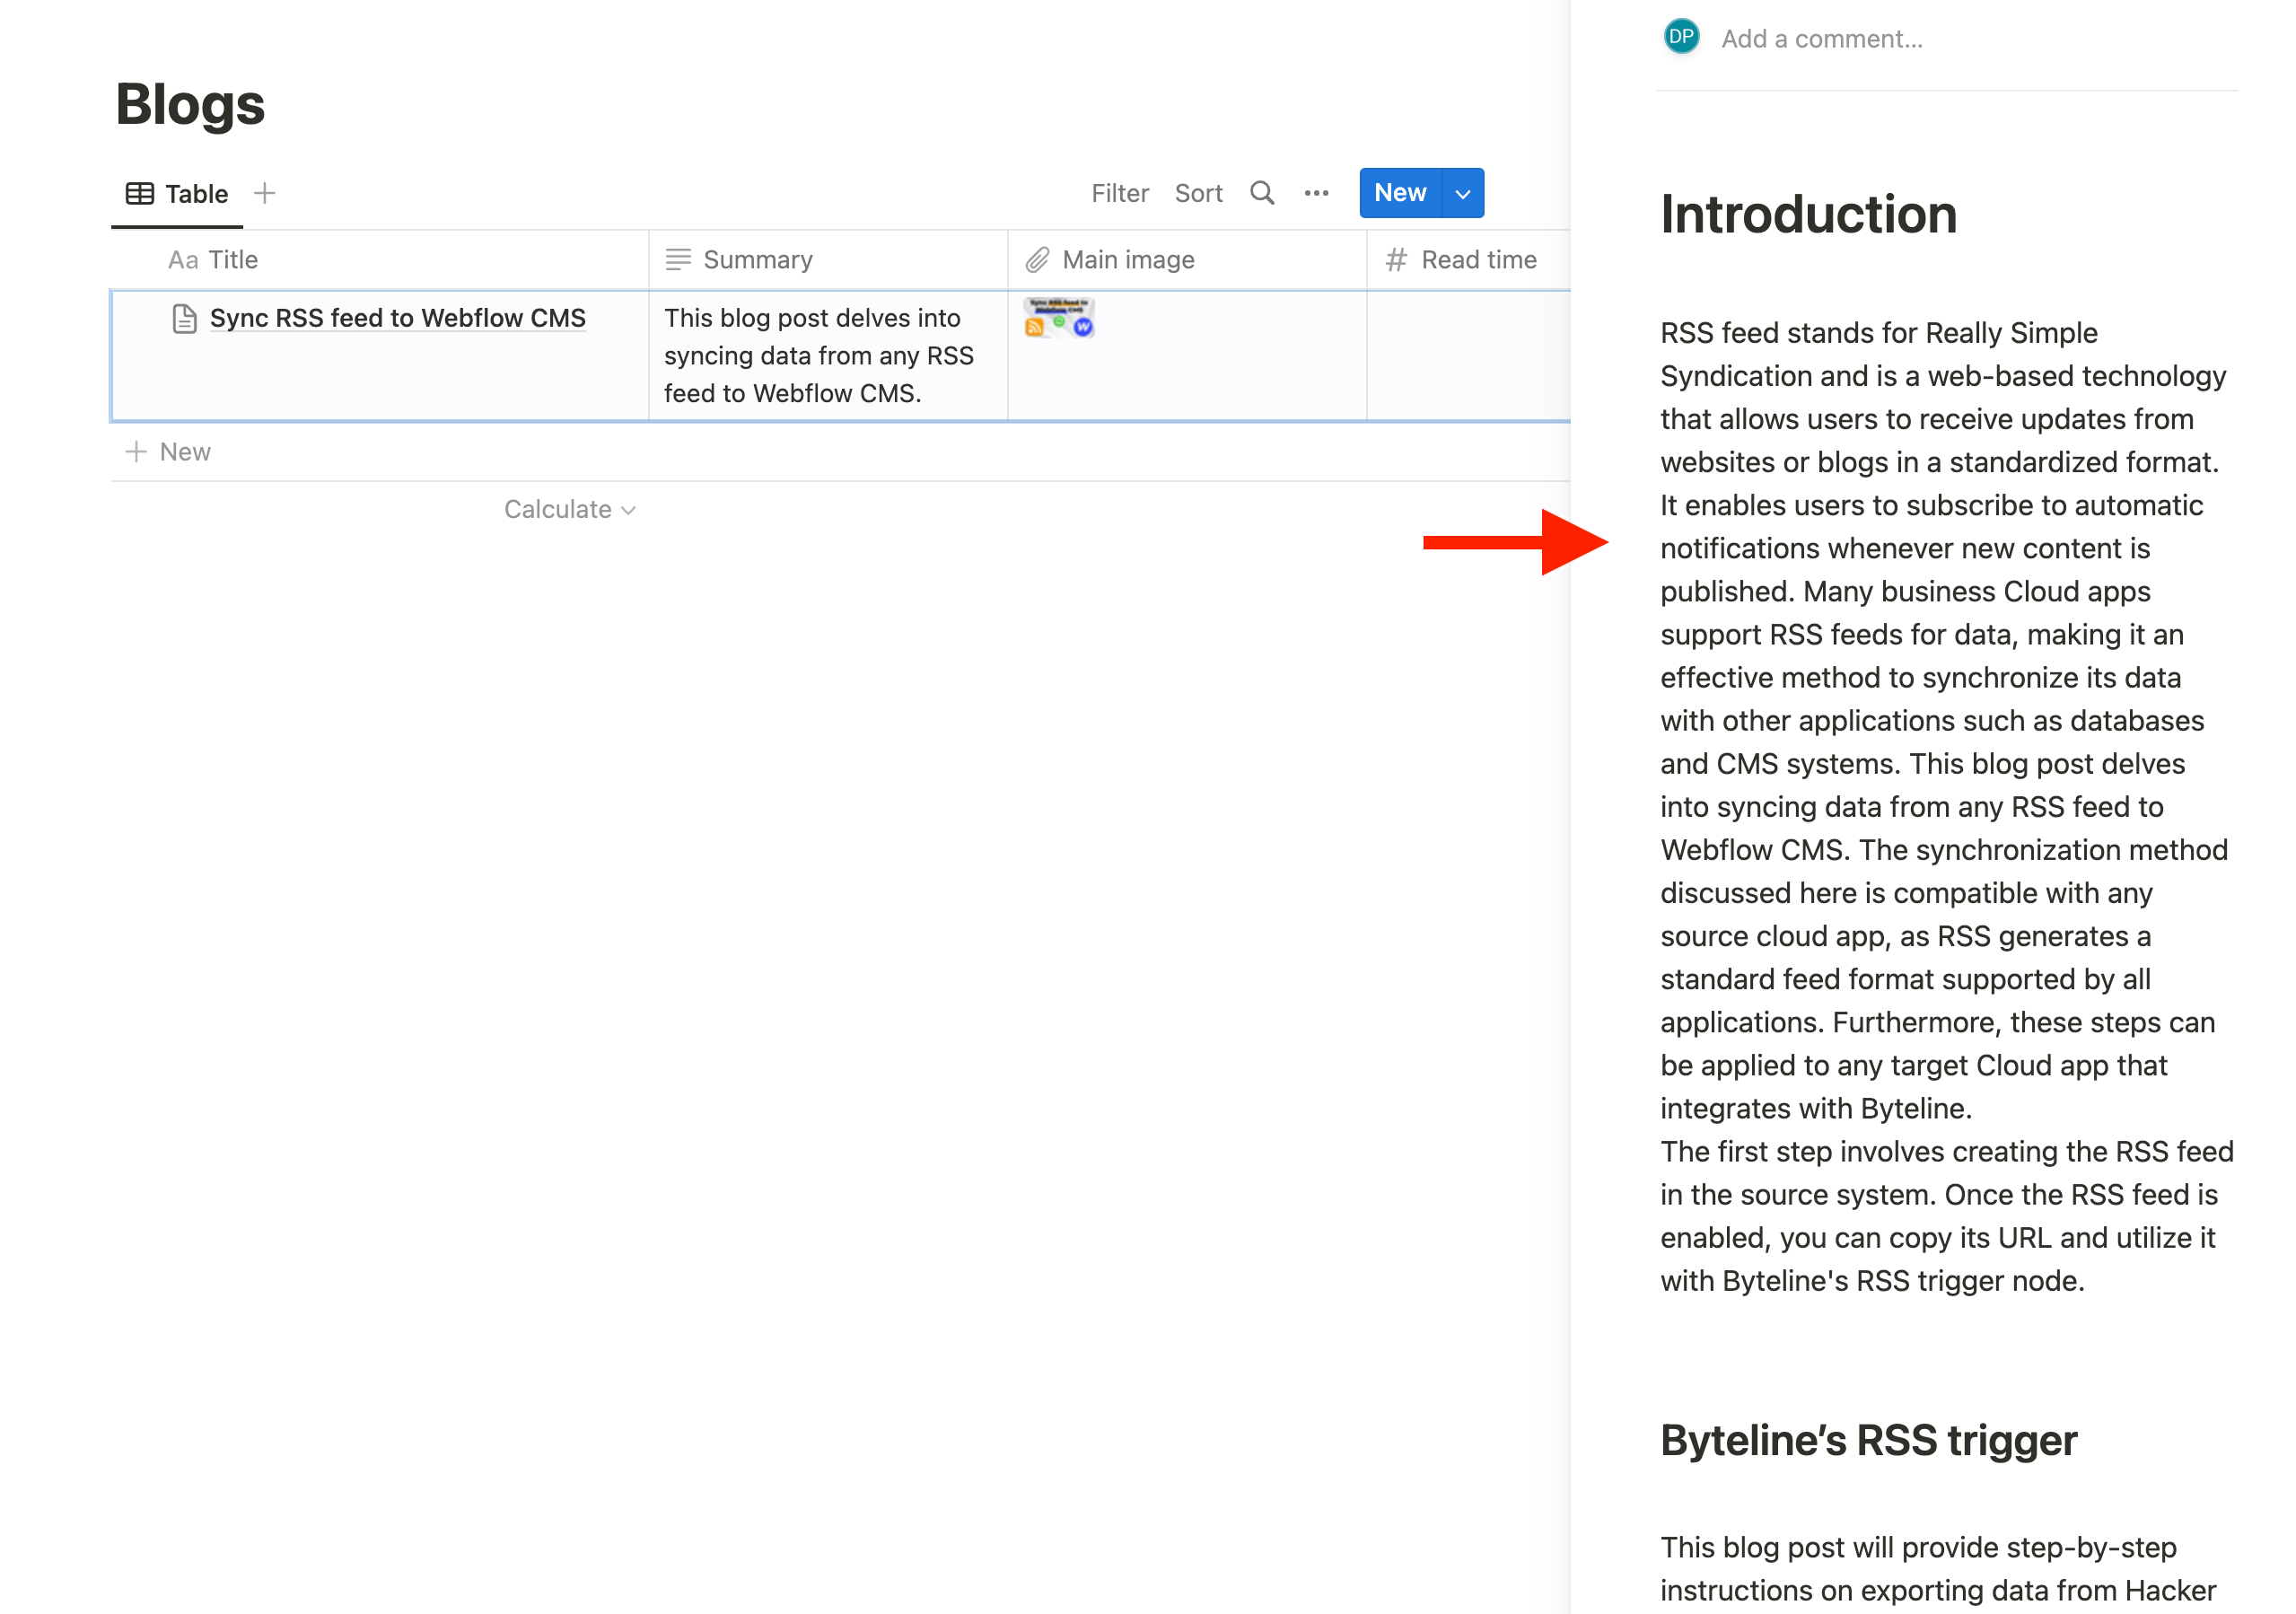
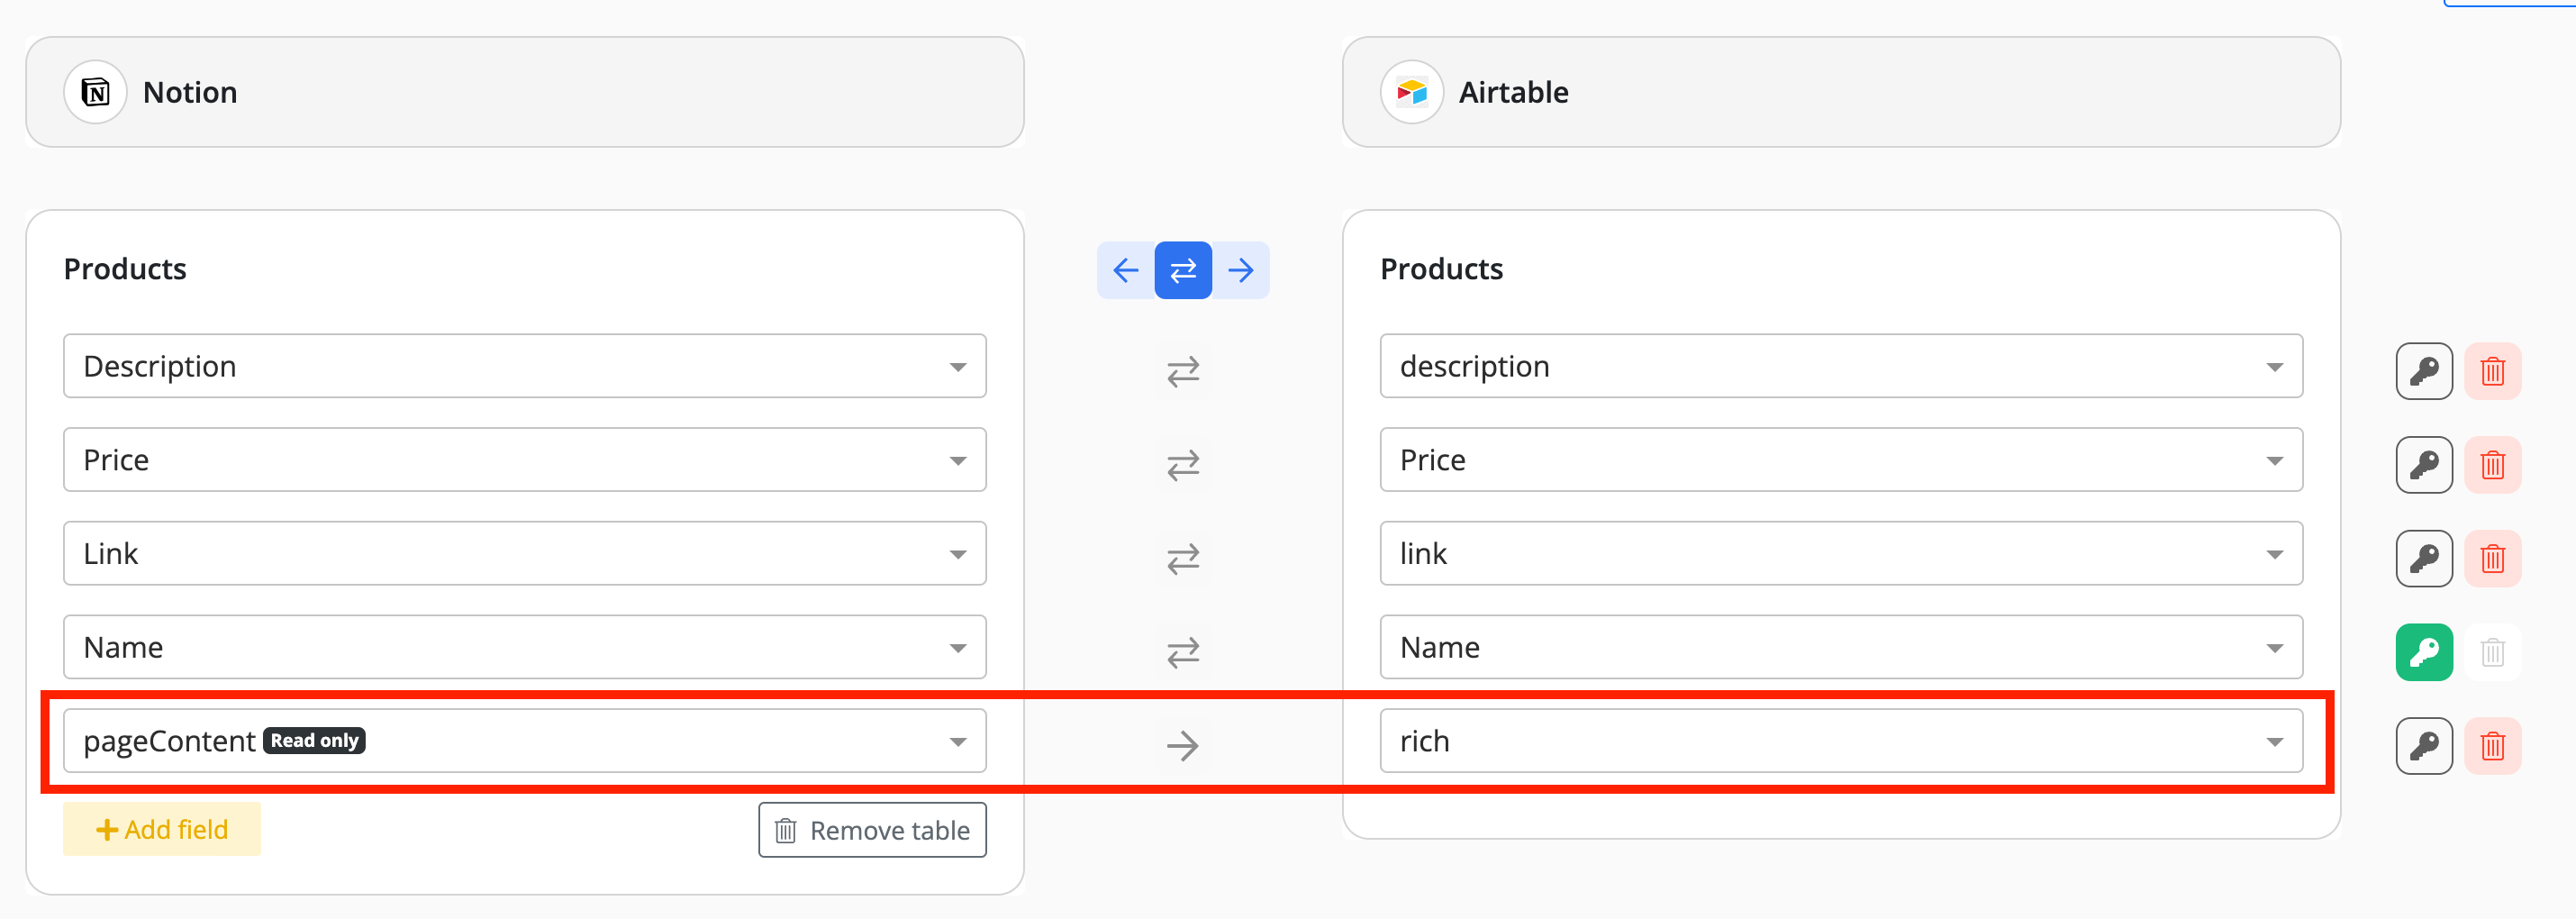
Every Notion database record has a corresponding page content that can be synced. Byteline uses pageContent field to represent the HTML content of a Notion page. Take a look at the screenshot below to see an example of the latter:
This read-only field can be synced from Notion to other apps by easily mapping from the data sync screens, shown below.
Handling Automatic Updates in Notion Pages with Linked Relationships
Byteline relies on the last_edited_time property to detect changes in Notion pages. However, Notion has a limitation where the last_edited_time is not updated if a page is automatically changed due to relationships linked to the same table. For instance, if you modify one record, such as Parent, the change might automatically update a related record, such as Child, because of the parent-child relationship. Despite this, the last_edited_time of the automatically updated record remains unchanged, making it undetectable by Byteline.
Solutions
- Manually Update a Column
Edit any column in your autmmatically changed Notion page (record) manually to ensure thelast_edited_timeis updated. This action makes the record detectable by Byteline. You can introduce a dedicated column in your Notion database specifically for this purpose. - Notion Automation
Use automation in Notion to ensure that automatically updated records also have their modification date updated. This ensures that Byteline can detect and sync these changes seamlessly.
By implementing these solutions, particularly automation, users have resolved this issue, allowing Byteline to detect and synchronize modified records without any problems.
Troubleshooting
My Notion Table Doesn't Show Up in the Dropdown
If you've created a table in Notion but don't see it listed in the dropdown when setting up your sync, here's what's likely happening:
🚫 The Table Isn't a Database Yet
In Notion, you can create something that looks like a table, but it may not actually be a database. Our dropdown only shows Notion databases, because those are what support syncing.
If your table was added using the “/table” command or the + menu, it may just be a regular table, not a database.
✅ How to Fix It
You need to convert your table into a database in Notion:
- Open the page in Notion where your table was created.
- Click the three dots at the top-right corner of the table. Click "Turn into database".
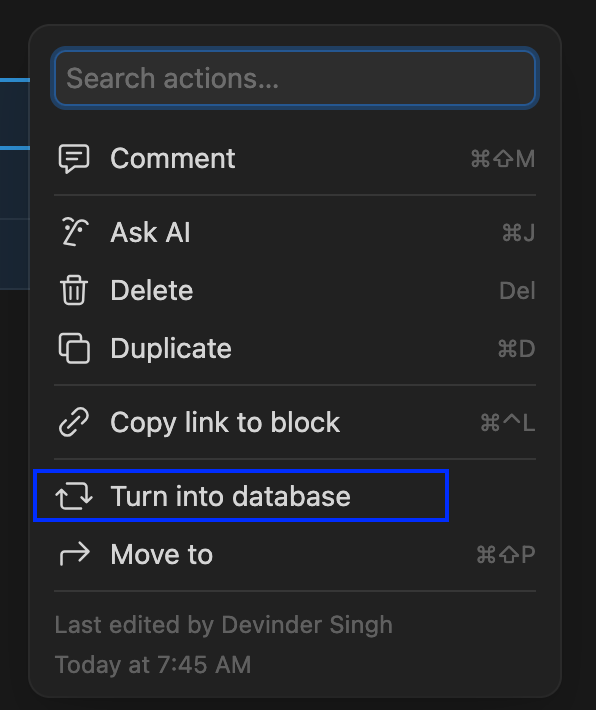
- Return to the dropdown and refresh — your database should now appear in the list.
